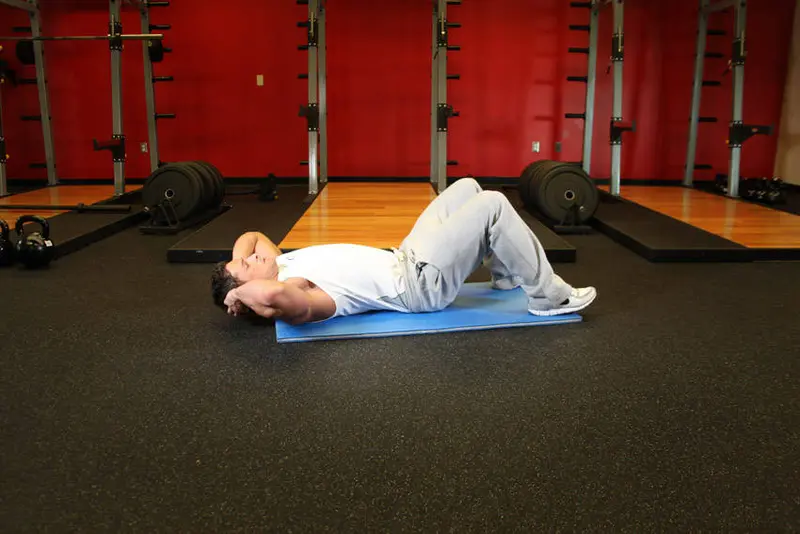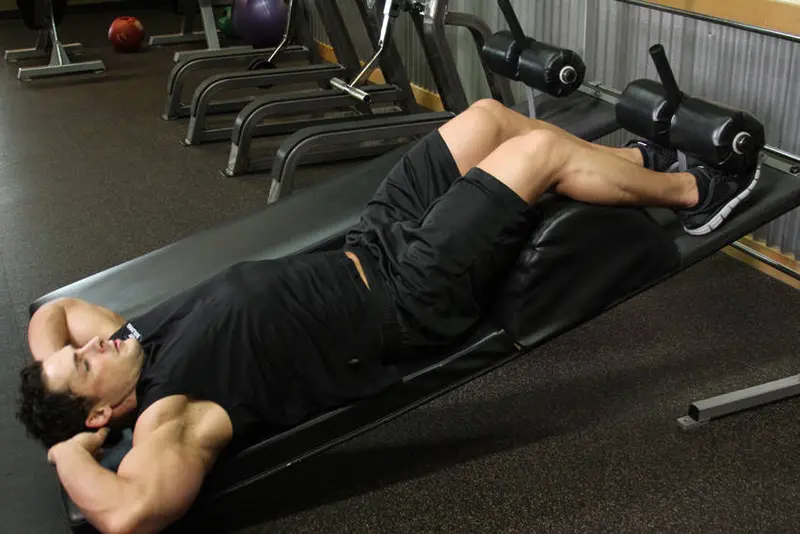
Tuck Crunch
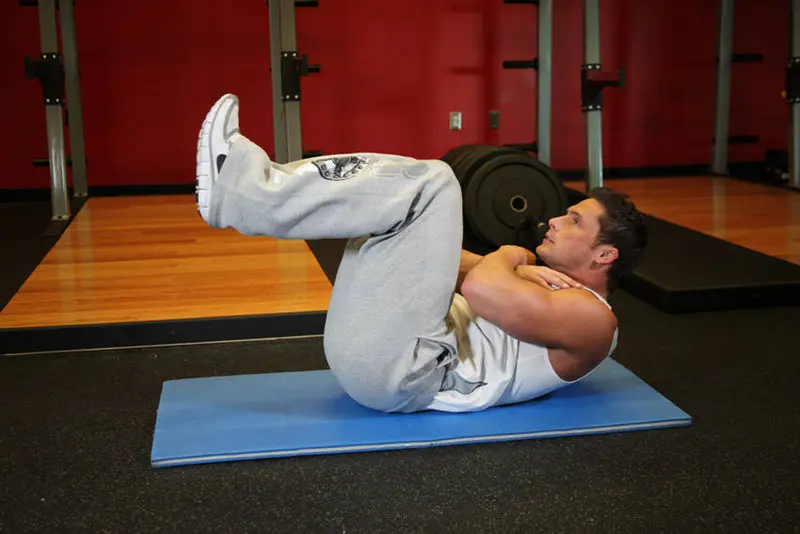
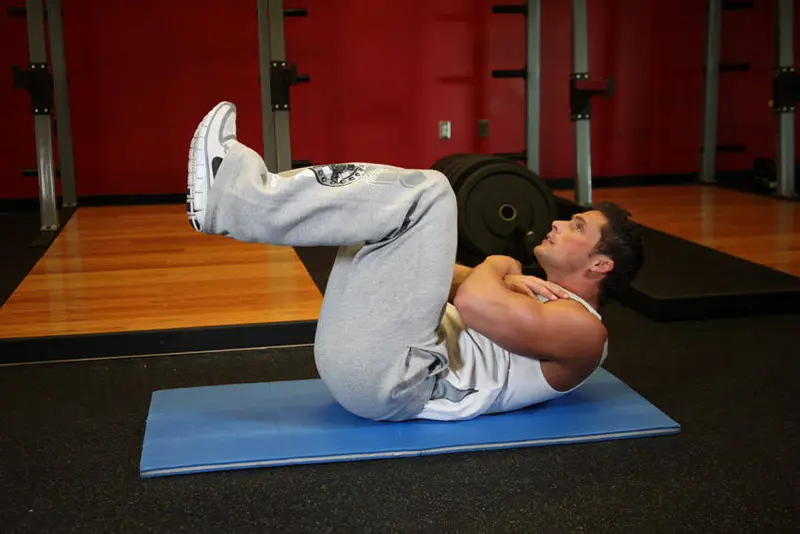
How to do it
- 01
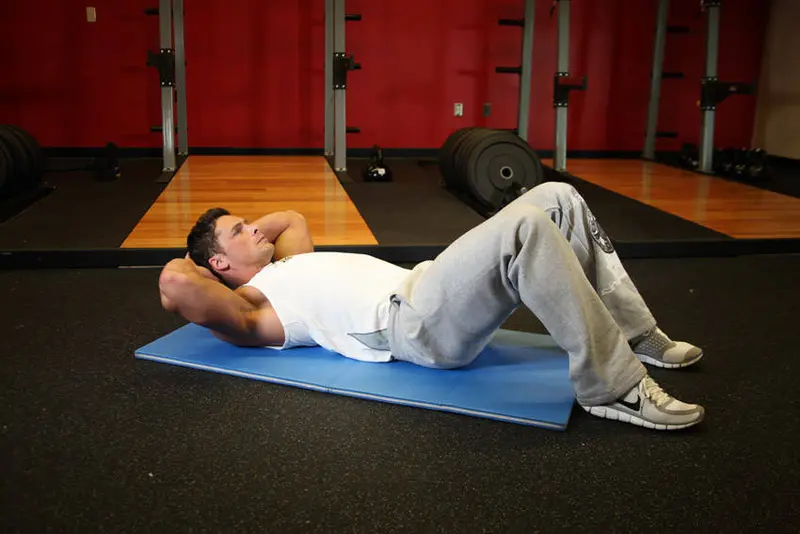
To begin, lie down on the floor or an exercise mat with your back pressed against the floor. Your arms should be lying across your sides with the palms facing down.
- 02
Your legs should be crossed by wrapping one ankle around the other. Slowly elevate your legs up in the air until your thighs are perpendicular to the floor with a slight bend at the knees. Note: Your knees and toes should be parallel to the floor as opposed to the thighs.
- 03
Move your arms from the floor and cross them so they are resting on your chest. This is the starting position.
- 04
While keeping your lower back pressed against the floor, slowly lift your torso. Remember to exhale while perform this part of the exercise.
- 05
Slowly begin to lower your torso back down to the starting position while inhaling.
- 06
Repeat for the recommended amount of repetitions.
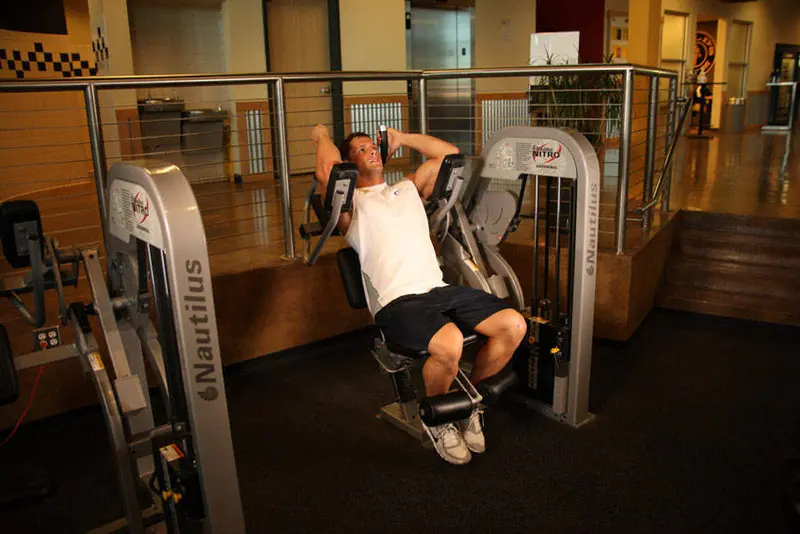
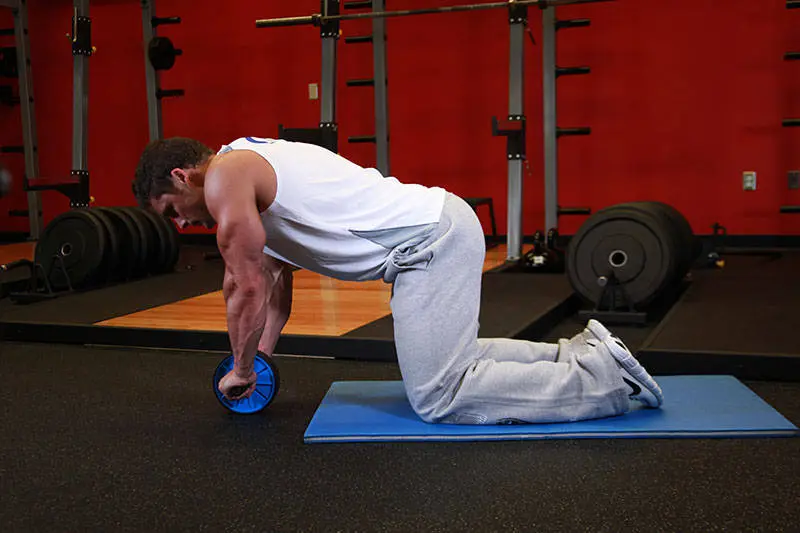
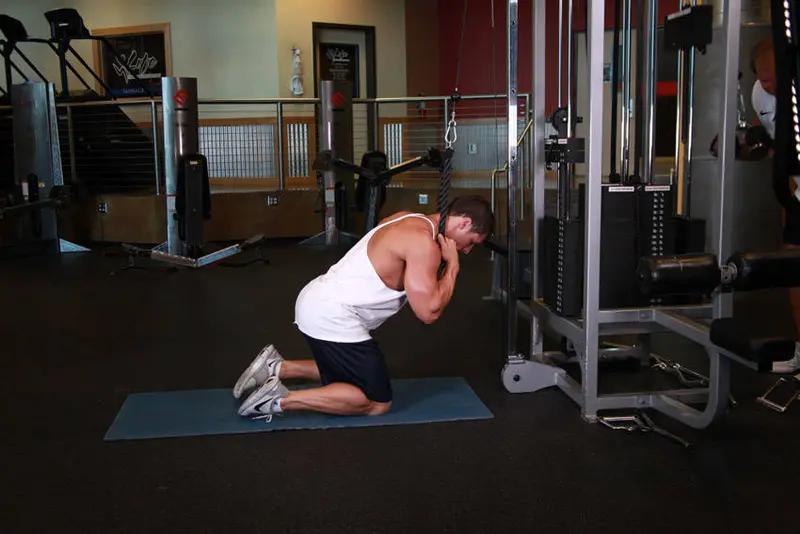
Same pattern, with kit
Same movement pattern, same primary muscles — swap by what you have.