Reverse Band Deadlift
How to do it
- 01
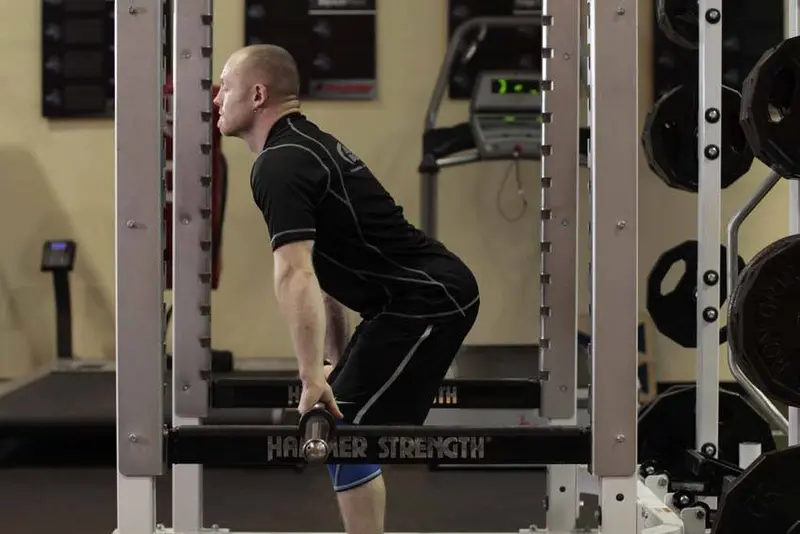
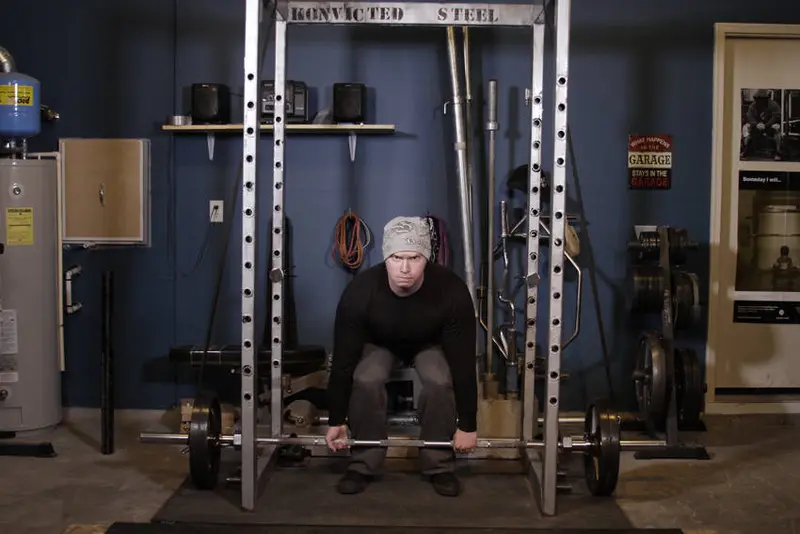
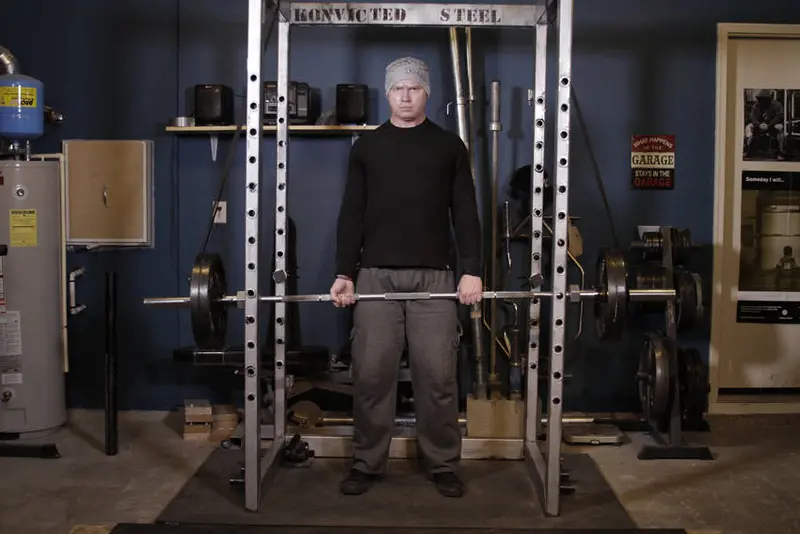
Set the bar up in a power rack. Attach bands to the top of the rack, using either bands pegs or the frame itself. Attach the other end of the bands to the bar.
- 02
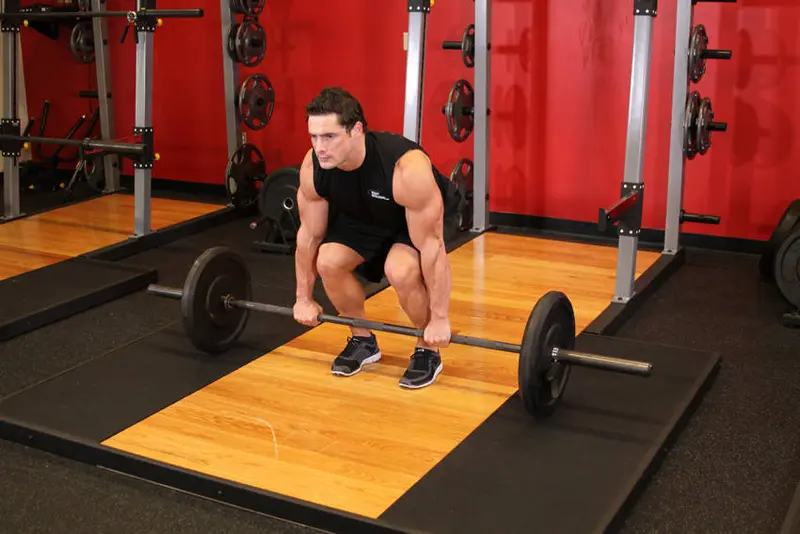
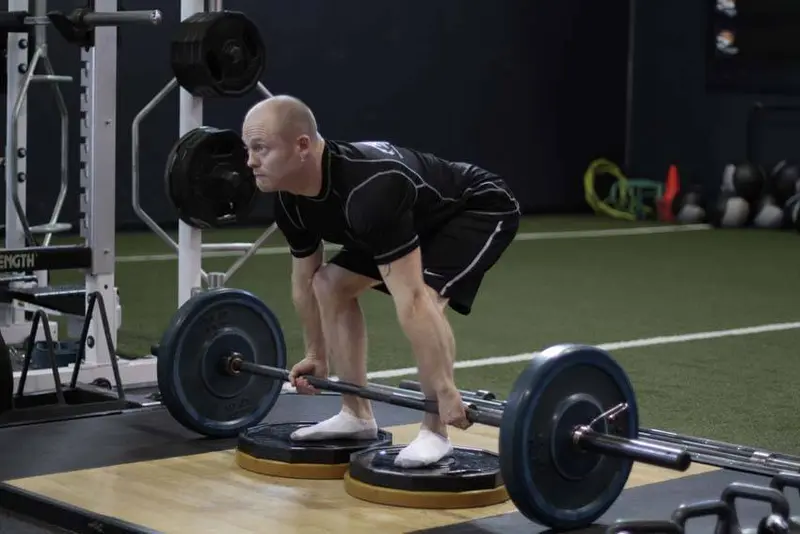
Approach the bar so that it is centered over your feet. You feet should be about hip width apart. Bend at the hip to grip the bar at shoulder width, allowing your shoulder blades to protract. Typically, you would use an overhand grip or an over/under grip on heavier sets.
- 03
With your feet, and your grip set, take a big breath and then lower your hips and bend the knees until your shins contact the bar. Look forward with your head, keep your chest up and your back arched, and begin driving through the heels to move the weight upward.
- 04
After the bar passes the knees, aggressively pull the bar back, pulling your shoulder blades together as you drive your hips forward into the bar.
- 05
Lower the bar by bending at the hips and guiding it to the floor.
If you don't have a barbell
Same movement pattern, same primary muscles — swap by what you have.